How to Crop a Photo Online — Step-by-Step Cropping Guide
A practical guide to cropping photos in your browser: aspect ratios for social and print, the rule of thirds, smart-crop, batch cropping and the most common mistakes.
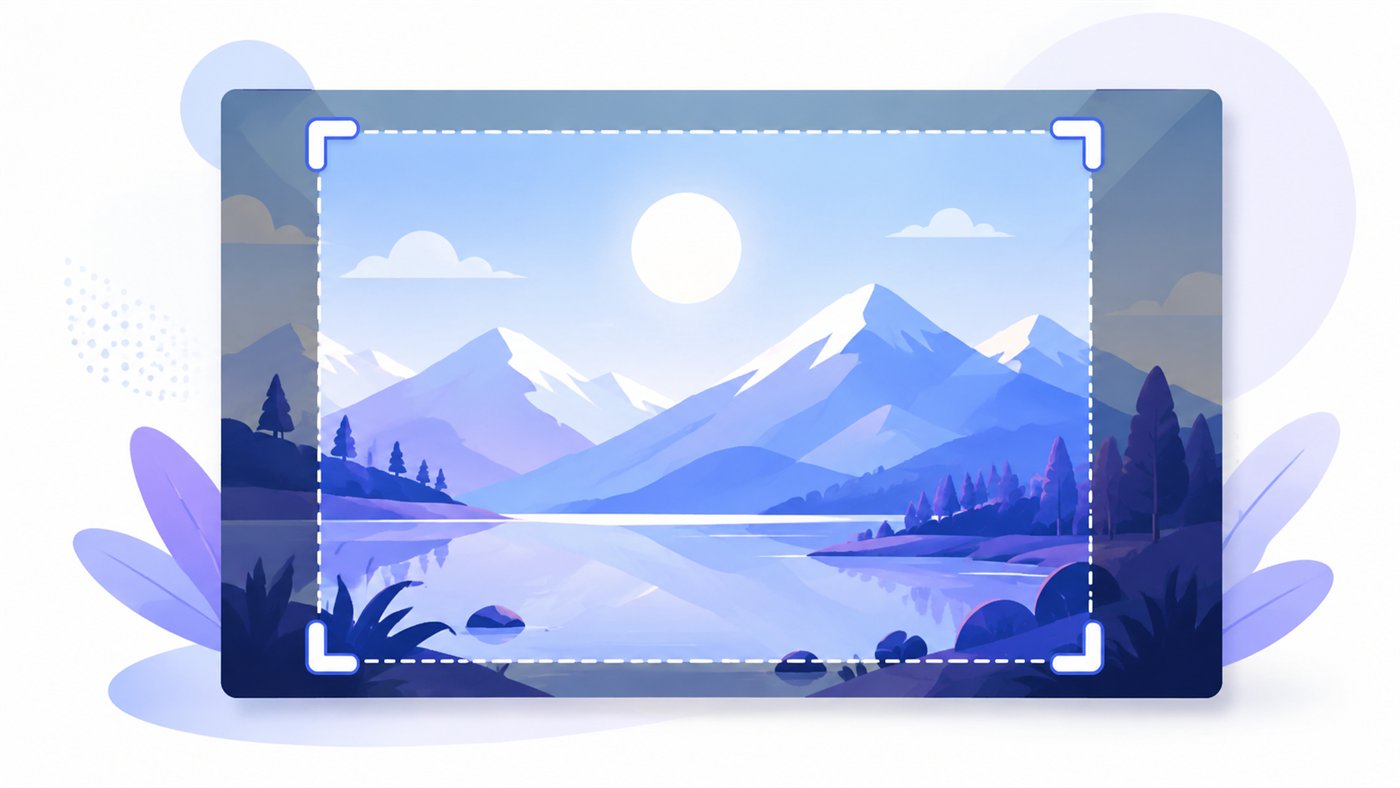
A good photograph is often shaped after the shutter clicks — in the moment when someone decides what stays inside the frame and what falls outside it. Cropping is one of those tools that looks trivial yet can completely change the meaning of an image. This guide shows how to crop a photo online quickly, deliberately and without sending files anywhere beyond your own device.
Why crop a photo at all
Cropping — cutting out a section of an image and removing what is unnecessary — serves several purposes at once. The first is better composition. A phone camera captures everything in its field of view, which means the photo ends up full of distractions: a random passerby at the edge, a corner of a trash can, too much sky or pavement. Removing those extras sends the viewer's eye exactly where it belongs — to the actual subject.
The second reason is matching aspect ratios. Every platform and every medium has its own expectations. A profile picture on a social network wants a square, a website banner calls for a wide landscape format, and a photo printed in a 5×7 inch frame has to fit specific paper dimensions. An official document or a CV photo also imposes a fixed ratio between the sides. Cropping lets you tune an image to each of these uses without buying new gear.
The third reason is often overlooked but very practical: a crop can rescue a shot taken too wide or slightly crooked. Instead of deleting a failed file, you simply cut the best fragment out of it. It is a bit like a second chance for an image that did not look great in its full version.
Key aspect ratios and when to use them
An aspect ratio describes the relationship between the width and the height of the frame. It is a unitless number — it says nothing about file size, only about shape. Here are the formats worth knowing.
- 1:1 (square) — a universal format for profile pictures, thumbnails and grids in social apps. The square is tidy because it forces you to center the subject.
- 4:3 — the classic format of many cameras and screens. It works well for general-purpose photos, presentations and moderate prints.
- 3:2 — the 35 mm frame ratio, familiar from DSLRs and mirrorless cameras. It is natural for photography and 4×6 inch prints.
- 16:9 — the wide panoramic format, the same one used by TVs and monitors. Ideal for banners, cover images, video thumbnails and landscapes.
- 9:16 (vertical) — a rotated 16:9, built for phone screens. It rules stories, reels and short vertical videos.
Beyond these standards, a custom ratio also comes in handy. Sometimes you need an unusual relationship between the sides to fit a specific template, frame or slot on a page. A good tool lets you type any values or crop completely freely, with no ratio lock at all.
Keep one rule in mind: cropping always subtracts pixels, never adds them. If the original has a low resolution, aggressively cutting a tiny fragment leaves you with a file too small to look good when enlarged. It is better to start from a photo with room to spare.
The rule of thirds in practice
The rule of thirds is the simplest composition tip there is, and it works surprisingly well. Imagine the frame divided by two vertical and two horizontal lines, forming a grid like a tic-tac-toe board. That creates four intersection points. Placing the most important element — a subject's eye, the horizon line, a tree in the foreground — near one of those points or along one of the lines gives the photo a natural balance.
In practice this means the horizon should rarely run exactly through the middle of the frame. If the sky is more interesting, drop the horizon to the lower third. If what is on the ground matters more, raise it. In a portrait, the model's eyes are best placed roughly on the upper dividing line rather than dead center.
Most cropping editors display the rule-of-thirds grid automatically the moment you start moving the frame. Just watch where the key elements land and adjust the cut. It takes a few seconds, yet the difference between an average photo and one the eye happily lingers on can be enormous.
Cropping for specific platforms
Every service has its own preference for image shape, and uploading a file in the wrong ratio ends in automatic squeezing or added blank bars. It is better to prepare the crop yourself and stay in control of what disappears.
Square posts on social networks use a 1:1 ratio, while the vertical formats of stories and reels rely on 9:16. Video thumbnails and channel covers like 16:9. Profile pictures are almost always square, even though they display in a circle, so keep the subject close to the center. Banners and headers can be very wide, sometimes closer to 3:1.
If your main goal is publishing on one specific service, it pays to check its current requirements first — the details are collected in a separate guide on Instagram image sizes. Once you are sure of the expected ratio, just set it in the crop tool and slide the frame to where the image looks best.
Smart-crop, or automatic cropping
Manually setting the frame on every single photo gets tedious, especially with a larger batch. That is where smart-crop comes in — intelligent automatic cropping. The mechanism analyzes the image, looks for the most important fragment — a face, a clear object, an area with the most contrast and detail — and positions the frame so that this fragment lands inside the crop.
It works wonderfully when you need to quickly bring many different photos to a single ratio, for example into a square product grid or a set of uniform thumbnails. Instead of cropping each shot separately and guessing where the subject is, the algorithm makes the first pass on its own. A human can then refine the crops that need it, though most usually do not.
Smart-crop does not replace a photographer's eye on ambitious images where intent matters. It shines, however, wherever speed and repeatability count: catalogs, team avatars, thumbnail galleries. It is a tool for saving time, not for making art — and in that role it is invaluable.
Batch cropping many photos at once
When a dozen or several dozen files are waiting to be cropped, doing them one by one stops making sense. Batch mode lets you upload the whole pack and work on it at the same time. The key here is a setup where each thumbnail has its own independent crop frame — because photos differ in framing, and a single shared frame stamped onto all of them would give terrible results.
In practice it looks like this: you set the target ratio, and the tool shows a grid of thumbnails, each with a separate crop to adjust. You can move the frame on one photo without touching the others, or use automatic smart-crop to let the algorithm place the frames itself and then fix only the chosen ones. Once confirmed, every file is cropped in one go and downloaded as a complete set.
This approach is a huge time-saver for product catalogs, event galleries or shop image sets. More about working with whole packs of files can be found in the write-up on batch resizing, which runs on a similar many-thumbnails principle.
Cropping vs. resizing — not the same thing
These two terms get confused, even though they do something completely different. Resizing, or scaling, keeps the entire content of the photo but changes the number of pixels — the image becomes physically smaller or larger, and nothing disappears from it. Cropping, on the other hand, cuts out a fragment and permanently removes the rest, changing what is visible and often the ratio too.
An example: a 4000×3000 pixel photo scaled down to 2000×1500 still shows exactly the same scene, just in a smaller file. The same photo cropped to a 3000×3000 square loses strips on the left and right — the scene shrinks, but the remaining part keeps full pixel sharpness.
In practice the two operations are often combined. You first crop the image to get the right composition and ratio, then scale it down to hit a target file size or dimensions. If the goal is a light file for a website or for sending, it is worth following the crop with compression to 100 KB, which cuts the weight without a visible loss of quality.
The most common cropping mistakes
Even simple cropping can ruin a photo if done in a hurry. Here are the traps that come back most often.
- Cut-off heads and limbs — a classic. The crop frame runs just above the top of the head or slices a hand in half, which looks accidental. The rule is simple: if you have to cut the figure, do it at a natural spot — the waist, the chest line — never through the joints.
- Wrong ratio for the destination — cropping a photo to a vertical format when the service expects a horizontal one ends in squeezing or blank bars. Decide on the ratio before you start cutting.
- Too aggressive a crop — cutting a tiny fragment out of a large photo yields a low-resolution file that turns blurry when enlarged. It is better to leave some pixels in reserve.
- A crooked horizon locked into the frame — cropping is a good moment to straighten the horizon line along the way. Tilted water or a leaning building instantly betrays the rush.
- No margin around the subject — gluing the object to the very edge feels cramped. A little space around it gives the image room to breathe.
Awareness of these mistakes is enough to avoid them. Before confirming a crop, just glance at the edges and check that nothing important was clipped in an unfortunate place.
Privacy — cropping without uploading files
Photos can be personal: faces of loved ones, documents, home interiors, data on screens. Sending them to someone else's server just to cut out a fragment is an unnecessary risk. That is why cropping is best done in the browser, on the device side.
In the crop tool on ImageResizerly the whole operation happens locally — the file loads into the browser's memory, gets cropped there and is saved there. The photo never leaves the computer or phone, never reaches the cloud and stays nowhere after the tab is closed. This matters especially for documents, scans or pictures you would rather not entrust to anyone. The details of this approach are described on the privacy page.
This model also has a practical upside: no uploading means no waiting for a transfer. Even large files crop instantly, because there is no round trip to a server and back. Privacy and speed go hand in hand here.
FAQ
Does cropping lower a photo's quality?
Cutting out a fragment by itself does not degrade the quality of the remaining pixels — they stay untouched. Quality only drops when you try to turn a small crop into a large image by enlarging it. That is why it pays to crop from photos with resolution to spare.
Which ratio should I pick for a profile picture?
The safest choice is a 1:1 square, because most services display avatars in a square or round field. Keep the subject — usually a face — close to the center so that cropping to a circle does not clip anything.
How does smart-crop differ from manual cropping?
Smart-crop detects the most important fragment of the photo on its own and positions the frame on it, saving time across many files. Manual cropping gives full control over every pixel of the frame. In practice it is good to combine both: the algorithm makes the first pass, the human refines the details.
Can I crop many photos at once to the same ratio?
Yes. Batch mode lets you upload a whole pack, set a single target ratio and adjust a separate frame on each thumbnail. It is far faster than opening every file one after another.
Are my photos uploaded to a server during cropping?
No. Cropping on ImageResizerly happens entirely in the browser, on the device side. Files never leave your computer or phone and are not transmitted or stored anywhere.